

gas detector calibrate
2026-01-23
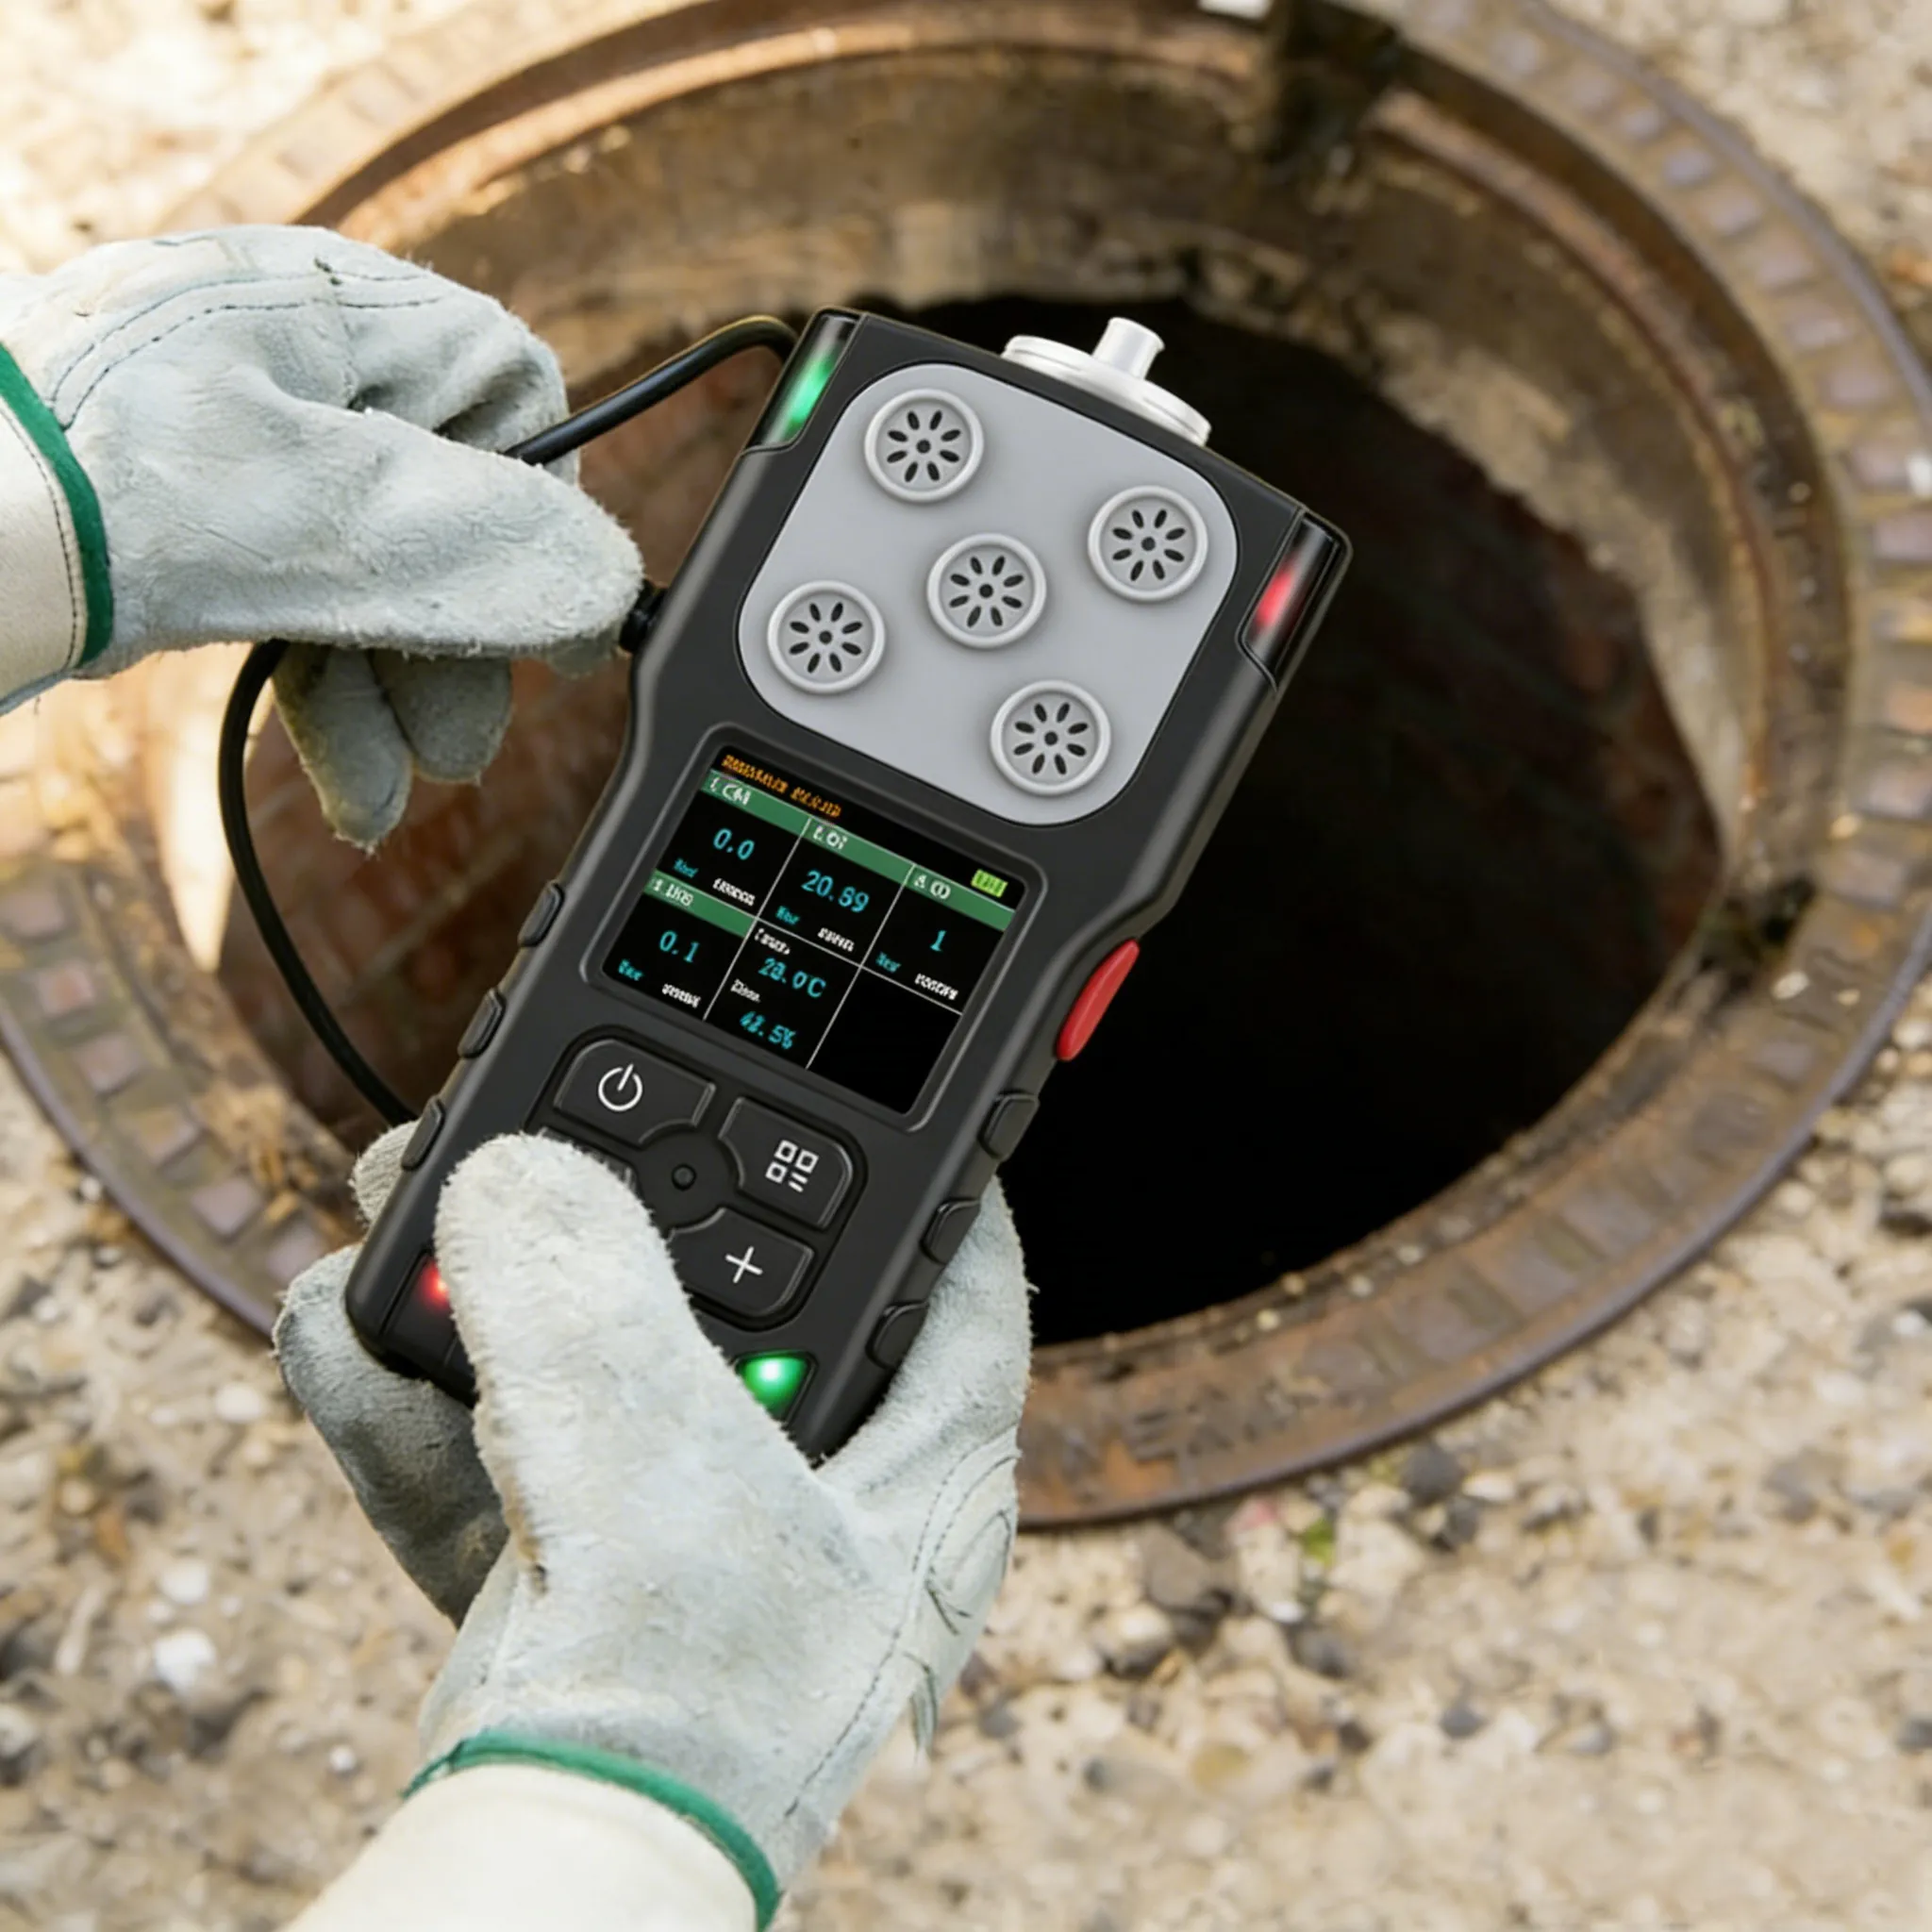
How to calibrate gases using the HNAG920 portable gas detector
When the detector has been in use for a period of time, the parameters of the gas sensor may drift. In this case, the sensor needs to be calibrated.
Zero-point calibration: When measuring a certain type of gas at 0 degrees, the measurement drift of the sensor may cause the instrument to display a value greater than 0. When this value affects the normal use of the instrument, zero-point calibration is required. Or when it is necessary to calibrate other gas parameters, zero-point calibration should also be carried out first. First, introduce zero gas into the air inlet of the instrument, which can be clean air or high-purity nitrogen. To operate on the instrument, select the parameter of zero point calibration AD value (the corresponding data turns yellow), and click the OK button. At this time, an option box will pop up in the middle of the screen (Figure 1):

indicating whether to choose the automatic or manual calibration mode. If the automatic mode is selected, At this point, another option box for confirming and saving pops up on the screen (Figure 2):

Performing the save operation will complete the zero-point calibration. If manual calibration is selected, the required value needs to be set through the combination of the quantity +, quantity -, and OK keys .
This machine can perform up to three levels of calibration. The concentration at the first-level calibration point is the lowest, that at the second-level calibration point is slightly higher, and that at the third-level calibration point is the highest. The appropriate calibration points should be selected in this order of high and low. If only single-point calibration is required, both the second-level and third-level calibration points should be set to 0. If two calibration points are needed, the third-level calibration point should also be set to 0. Before calibration, zero-point calibration must be performed first (see above), then the standard gas corresponding to the calibration point is introduced. You will see the real-time concentration value data in the upper left corner occurring. After it stabilizes, modify the parameter value of the corresponding calibration point to the concentration of the standard gas, then move the cursor to the AD value to be modified and click the OK button. An option box will pop up in the middle of the screen (Figure 3):

and the following operations refer to zero point calibration.
The coefficient is a multiple used for calculating the concentration value and is generally set to 1.0. This value should not be modified unless necessary.
Related News
Contact Us


Fill out the form